Sail Away! Origami Boat Place Card
- Veron
- Aug 23, 2021
- 3 min read
It's Summer and let's set sail!
Origami is a fun activity that does not cost much at all and the best part is that it isn’t only a hobby for adults, but also an entertaining pass time for kids. It is an engaging activity that can stir up anyone’s creativity.
Learn how to make the origami boat with this easy step-by-step tutorial.

The origami boat is actually very simple to make. All you need is a rectangular piece of paper, so any A5 or A4 size paper that you can find will do.
Follow our step by step instructions to learn how to make an origami boat.
You'll Need:
2 Rectangular sheet of paper (1 for the boat & 1 for the flag)
Toothpicks
Double-sided Tape or Glue
Marker Pen
A pair of Scissors or Penknife & Ruler
Directions:

Here's a more detailed step by step instructions:
1. Start with a rectangular paper, orient it vertically and fold into half.

2. Unfold and then fold top to bottom into half.

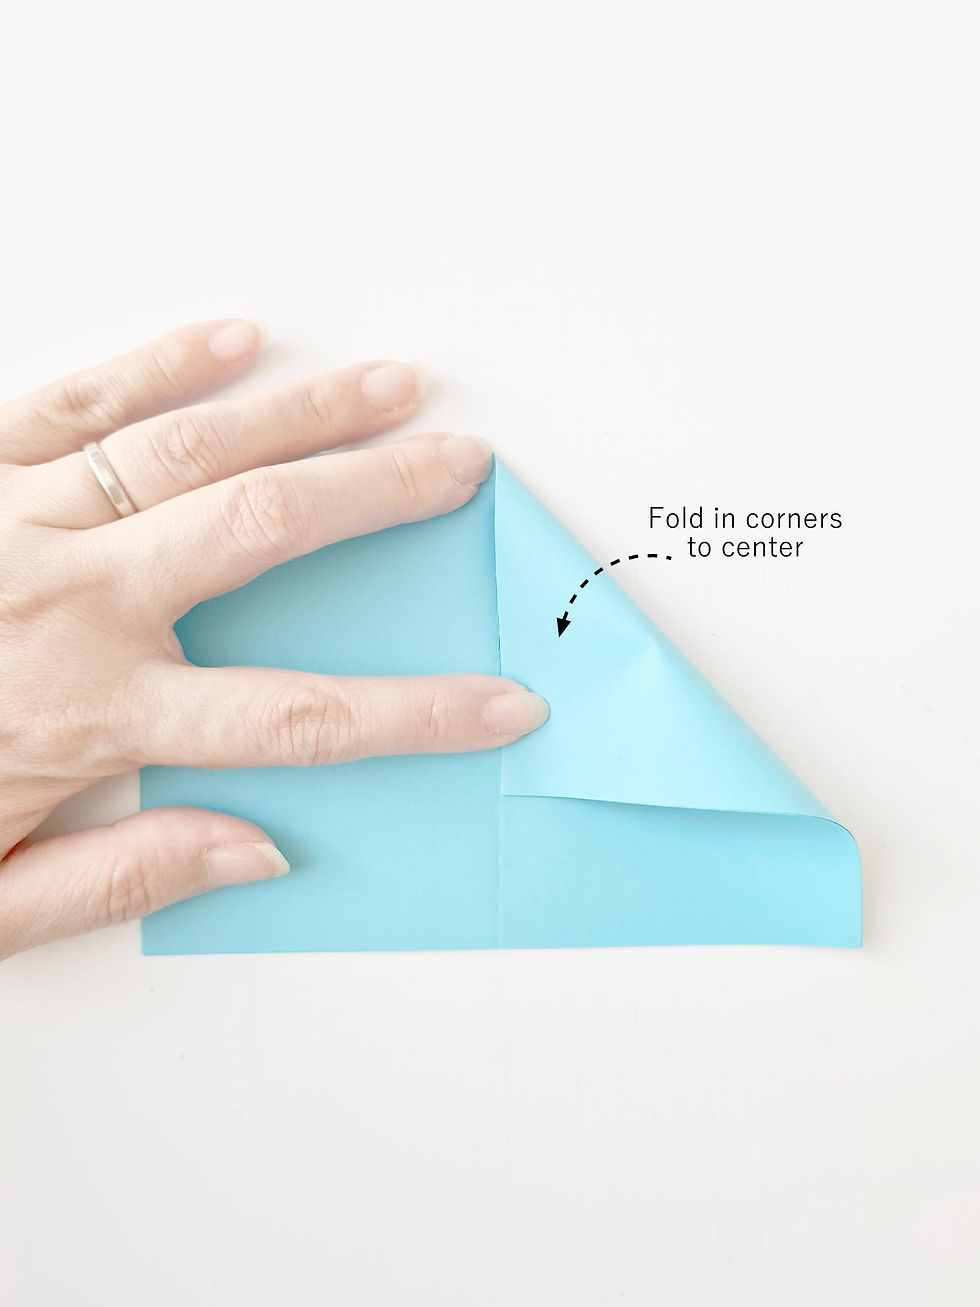
3. Using the crease as a guide, fold the left and right corners to the center.

4. Repeat both corners and flatten the folded pieces down as shown.

5. Rotate the paper. Fold one layer of the bottom flap as shown.

6. Flip the paper over to the other side. Fold the bottom flap up in the same way.

7. Rotate the paper as shown.

8. Open up the inner and pull apart.

9. Flatten and then insert the overlapping flap on the left underneath the right section.


10. Rotate the paper with flaps facing downwards. Fold up the bottom flap.

11. Flip over and fold up the bottom flap.

12. Open up the bottom and pull apart.


13. Press and fold in the sides.


14. Pull apart the left and right flaps. Flatten it out, in the shape of a boat.

15. Press and flatten the edges.

16. Turn over to the bottom of the boat, open it slightly.

17. And your boat is ready to set sail!

Making a origami paper boat is a great activity that’s easy to work on and doesn’t require a lot of materials. By folding and shaping the paper to look like a boat, you can make a great-looking paper boat in just minutes.

And now, here's how to upscale this simple origami boat into a place card that will complement your tablescape or reception whether it's a summer party, a nautical theme wedding or just a summer getaway!

Tips:
The size of the flag will depends on the paper size you used to fold the origami boat, for e.g. A 14.5cm x 210cm (A5) size paper will make a approx. 12.5cm origami boat in length after opened up. In this case, the flag should be at approx. 4cm x 12cm in opened size, to make a 2.5cm x 6cm flag when folded. The length of the flag should always be 1-2cm smaller than half of the flatten origami boa in length.
You can make the boat in any size you desired and make as a table number stand or as home décor. Just use a wooden sticks that you can get from any craft shop or simply a disposable wooden chopsticks instead of tooth picks.

Get all the materials and tools ready. Cut the paper to 4cm x 12cm.

2. Fold the rectangle sheet into half.

3. Mark a center point and cut to triangle.

4. You should see a triangle as shown below.

5. Use a marker and write the name on the front panel.

6. Open the triangle and glue a piece of toothpick inside.

7. The flag is done! Insert the flag into the pre-cut hole at the tip of the boat.

The origami boat place card is completed!

Set A Seaworthy Table
These whimsical place cards with sails designate your guests’ seats makes a sweet little decoration perfect as décor at a kids party and also wedding reception because they stand up, make great table place cards or, folded flat, use as a card embellishment.


Who knew paper boats could make such adorable place and escort cards for a wedding?
A versatile craft that also makes great décor in summer and they’re also a lot of fun for kids to fold, decorate—and then play with! It's not only super fun and simple but also a proven activity to boot your kids cognitive and motoric skill too!
Deck out your papers and start folding!
תגובות